Hands-on science experiments are the perfect elementary enhancement to any science lesson. An excellent time for elementary science experiments is Halloween. It’s a fun season of the year for students to enjoy candy, costumes, and even science experiments! Students enjoy learning by creating, observing, predicting, and experiencing what is being taught firsthand, and when the instruction is related to a holiday, the concepts become more engaging for students.
Here are three different Halloween science experiments for elementary students. The first experiment can be easily shared with students participating in a remote school setting. The last two Halloween experiments would be more successfully accomplished in a face-to-face classroom setting.
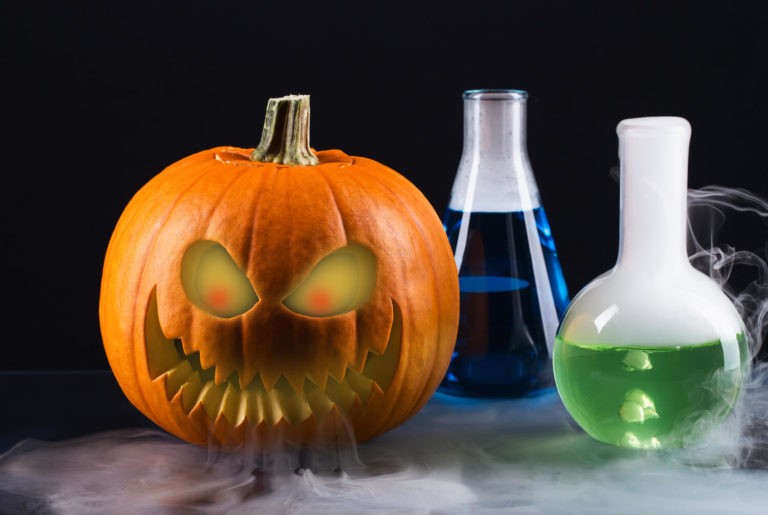
Dissolving Candy Pumpkins
Objective: Students develop detailed observation skills and practice developing predictions that can later be generated into a hypothesis statement.
Items Needed:
- Milk
- Water
- Vegetable oil
- Vinegar
- Four clear cups (glass or plastic)
- Candy pumpkins or candy corns (enough to place one in each cup)
- After completing the experiment, students may select four or more different liquids
Instructions:
- Pour approximately ½ of each liquid into its own cup. Set up the clear cups with the liquids next to one another on a counter.
- Before adding one candy pumpkin to each cup, ask the students to write down a prediction about how the liquid will affect the candy pumpkin. Ask the question: “Which liquid will cause the pumpkin to dissolve completely?”
- Other prediction questions can include: “Will the candy pumpkins float or sink in the different liquids?”
- Give the candy pumpkins a few minutes to sit in each of the different cups of liquid, and have students record observations witnessed by sight.
- Remove each pumpkin candy from the liquids and have students record additional observations using sight, smell, and touch.
Students can watch the teacher experiment with Zoom or Google Meet. Students can also follow along with the teacher by experimenting with the teacher remotely. Teachers can access the students’ work with a written conclusion of the experiment based on the students’ observations that may or may not support the initial predictions made before placing the pumpkin candies in the liquids.
Magic Jack-O-Lantern
Objective: Students observe and predict how and why a balloon can inflate without a person blowing it up with breath.
Items Needed:
- Recycled water bottle
- Vinegar
- Baking soda
- Funnel
- Jack-O-Lantern or any Halloween-themed balloon
Instructions:
- Fill the recycled bottle ¼ full with vinegar using the funnel.
- Place one tablespoon of baking soda using the funnel into the bottle with vinegar.
- Quickly, place the balloon opening over the top of the bottle and lift the balloon to sit straight up.
The students will observe the balloon slowly inflate when the vinegar and baking soda combine and create a gas: carbon dioxide chemical reaction. The teachers will begin to ask students how the balloon is growing without human breath, and depending on the elementary level of the students, the complexity of the chemical reaction can be explained. Students can record observations and share predictions at the end of the experiment.
Spooky Hand Model
Objective: Students learn about biology and precisely how all the different hand parts work together by constructing a paper hand and creating and identifying the bones and tendons in hand. Students can also be creative by creating a spooky skeleton hand.
Items Needed:
- Black construction paper
- Straws
- String
- Scissors
- Pencil
- Tape
- White crayon
Instructions:
- Students use the white crayon to trace one hand on a piece of black construction paper.
- Cut the traced hand with scissors.
- Students place their hand back over the cut-out hand and place a mark beside each finger joint.
- Cut a section of straw to secure the place of the finger bones, leaving space between the marked joints for each finger. Repeat this process for each finger and thumb. Tape the straw sections to the black construction paper.
- Cut a length of string slightly more than double the size of the hand. Feed pieces of the line starting at the wrist and ending at the tip of each traced finger. Tying the string into a secure knot at the tip of the finger so the string does not slide out of the straw sections.
- Repeat feeding the string through each of the straw sections of each finger and thumb.
- Fold the paper fingers at each joint to help move the fingers using the end of the strings hanging below the paper wrist.
- Have students pull the individual strings gently to simulate how the fingers bend by the joints. Each string controls the individual fingers, and when removed, the paper fingers on the hand can be placed in different formations.
Students will use the engineering process to create the paper hand with moving fingers, and students may need to redesign and reconstruct before achieving a working paper hand. They can be creative with spider rings and long fingernails when making a spooky paper hand as a Halloween activity.
Students can enjoy all three of these science experiments this Halloween. These experiments will engage and bring the joy of science concepts to elementary students.


